fetching-data
Task
You’ve learned how to fetch data in React.
In this code lab, you’ll practice fetching some data from the randomuser.me website’s API.
This code lab’s app, once completed, is supposed to show a single customer’s data for the Little Lemon Restaurant.
The starter code shows only an h1 heading, with the following text: “Data pending…”
Your task is to complete the data fetching using the fetch() function and to handle the returned Promise object using the then() methods.
In the return statement of the App component, you also need to add an h2 heading showing the customer’s name and the customer’s image from the data fetched from the random user API.
Here’s an example screenshot of the completed app served in the browser.
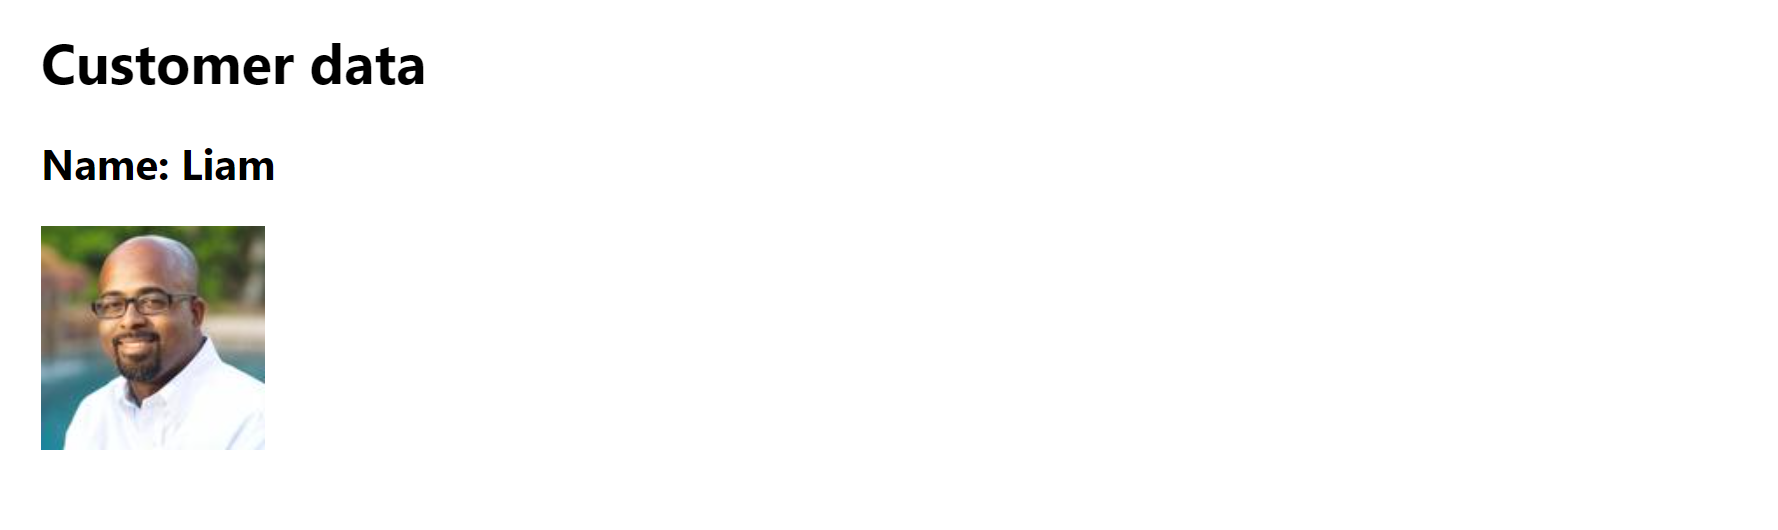
In other words, the completed app should display the following:
- An h1 heading with the text that reads “Customer data”
- An h2 heading with the text that reads, for example: “Name: Liam”
- An image tag showing an image returned from the fetched data
Steps
Step 1
Open the App.js file.
The App.js starting code is as follows:
import React from "react";

function App() {
  const [user, setUser] = React.useState([]);

  const fetchData = () => {

  };

  React.useEffect(() => {
    fetchData();
  }, []);

  return Object.keys(user).length > 0 ? (
    <div>
      <h1>Customer data</h1>

    </div>
  ) : (
    <h1>Data pending...</h1>
  );
}

export default App;
Locate the fetchData() function.
const fetchData = () => {

};
Inside the fetchData() function’s code block, execute the fetch() function, passing it a single string argument: "https://randomuser.me/api/?results=1".
Step 2
Still inside the fetchData() function, under the fetch() function call, add the following piece of code:
.then((response) => response.json())
Step 3
Continuing from the previous step, add another then() call, which takes an arrow function.
The passed-in arrow function should receive a data argument and using that data argument, it should invoke the setUser() function, with the data passed to it.
Step 4
In the return statement of the App component, the starting code is as follows:
return Object.keys(user).length > 0 ? (
    <div style=>
        <h1>Customer data</h1>

    </div>
    ) : (
    <h1>Data pending...</h1>
);
Under the h1 heading, you need to add one line of code:
- an
h2heading, with the following code inside:Name: {user.results[0].name.first}
Step 5
In Step 4, you updated the return statement of the App component.
In this step, you need to add another line of code under the newly-added h2.
You need to add an img element, with the src attribute holding the following code:
{user.results[0].picture.large}
Additionally, you need to add an alt attribute, as follows:
alt=""
Remember to self-close the img tag.
Conclusion
Save the changes and serve the app.
Verify that the completed app, once saved and served, behaves as follows:
- It shows a heading that reads: “Customer data”
- It shows a subheading, that shows a user name. For example, “Name: Ann”
- It shows an image of that user under the name